Replacing Your Outdoor Table Top: Step-by-Step Guide
Oct 10th 2023
The charm of an outdoor space is all in the details, and the table typically takes center stage on a patio or deck. However, as time goes by, your outdoor table can start to show its age from the weather and regular use and end up looking worn and less inviting.
Giving your outdoor space a new lease of life can be both easy and cost-effective by replacing your table top. This change not only breathes new life into the look of your open-air haven but also allows you to customize the area to suit your changing preferences and needs.
Follow this replacement outdoor table guide on selecting the perfect table top for your outdoor space. Whether you’re a DIY pro or just getting your hands dirty for the first time, you’ll find tips to help you renew your patio or deck with a table top that’s as tough as it is attractive.

Step-by-Step Guide to Replacing Your Outdoor Table Top
Tackling your table top replacement step-by-step can make the process more manageable, dividing it into clear, achievable stages. Whether choosing a suitable material or adding the finishing touches, each phase is vital to ensuring a polished final look.
Step 1: Assessing the Damage
Before reaching for tools, closely examine your table top for signs of wear and tear. Look for cracks, warping, or discolored areas that suggest water damage. If your table has a wooden top, check for splintering wood or rot, which can compromise its integrity.
For metal tables, rust or corrosion are tell-tale signs that it’s time for an upgrade. Even if the table is structurally sound, surface-level issues such as peeling paint or fading from UV exposure can detract from its appearance and functionality.
Step 2: Selecting the Right Replacement
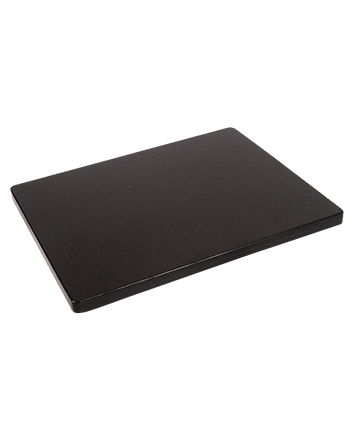
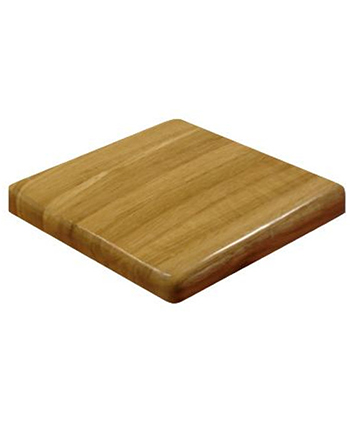
Selecting the right material for your new outdoor table top is vital to prolonging its lifespan and ensuring its durability. To balance aesthetics with functionality, consider weather-resistant options like sealed solid oak, which ages gracefully, or opt for modern composite resins that offer longevity and minimal maintenance.
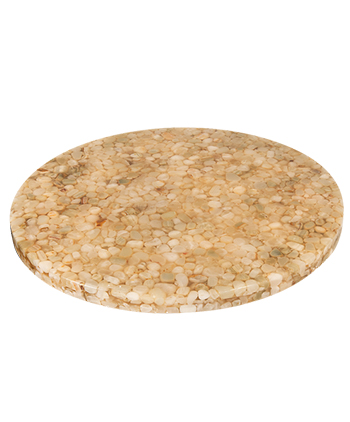
If you’re looking for an on-trend design to add a bespoke touch, choose faux natural stone table tops. Just ensure they are appropriately sealed to resist the elements. Factor in your local climate and usage patterns, as well as the existing outdoor decor, to ensure your choice not only stands up to the weather but also blends with the rest of your decor.

Step 3: Gathering Essential Tools
While you can measure, cut, sand, and seal your own table top, you can simplify the process by choosing a pre-made replacement table top so you can sidestep the need for extensive tools and materials.
Measure your existing table base to ensure the new top will fit—mark where the screws, nuts, or other fasteners will attach. Having your measurements on hand enables you to pick out a table top that fits perfectly, which simplifies the installation process.
For the installation, you’ll need a Phillips or flathead screwdriver or electric drill to secure the new top to the base. Also, keep a wrench handy for any stubborn fasteners. It’s a good idea to use a spirit or laser level, too, so that you can be sure your table top is level for a steady surface.
Wear protective gloves to safeguard your hands, and use safety goggles to protect your eyes from dust and debris.
Step 4: Removing the Old Table Top
Removing the old table top should be done with precision and care. If it’s attached with screws, carefully unscrew each one using a screwdriver or power drill, and set them aside. You might need them to secure the new table top in place.
If your table top is glued on, a putty knife or chisel can be useful for carefully loosening the edges and prying the top off the base. Be gentle to avoid harming the base. If you feel resistance, apply a small amount of solvent like acetone or isopropyl alcohol to dissolve the adhesive. Always work in a well-ventilated area when handling solvents.
After loosening the table top, slowly remove it. If it’s heavy or unwieldy, ask someone to help you.
Step 5: Preparing the Surface for the New Table Top
After detaching the old table top, the next step is to ready the base for the new one. Begin by giving the base a good clean. Use a solvent to clear away any leftover adhesive, and then use a damp cloth to clear away dust and debris. Let it dry, then sand down any rough patches to ensure a smooth surface that will bond easily to the new table top.
If your base is made from wood or untreated metal, consider applying a primer or sealer. This can enhance protection for the base and promote stronger adhesion with the new top. Let the primer or sealer dry fully per the manufacturer’s directions before proceeding.
Step 6: Installing the New Table Top
To install your new table top, ensure it rests evenly on the base. Set the top in place and use a spirit level to verify it’s horizontal, checking from different directions. Adjust the base as needed until everything is level. After achieving a balanced position, align the top so that it’s centered, providing an even overhang from every angle.
When securing a screw-on table top, align the holes with the base and tighten the screws from underneath. Make sure not to over-tighten, as this could strip the screws. For tops that require gluing, spread a consistent layer of outdoor-grade adhesive on the base.
Position the top on the base and press down lightly. To maintain pressure while the adhesive sets, you can use paint cans, bricks, or clamps to hold the top steady. Let the adhesive cure according to instructions before using the table to ensure the bond is strong and secure.

Enjoy Your Outdoor Furniture for Longer With High-Quality Replacement Parts
Revamping your outdoor area with replacement outdoor table tops is a rewarding project that breathes new life into your home or commercial outdoor dining space.
Explore the range of high-quality replacement table tops at Seat and Stools. Contact us for more information on our durable and stylish selection of table top replacements, perfect for turning your outdoor area into a stylish, functional space to enjoy.
FAQs
What Kind of Wood is Best for Outdoor Table Tops?
Solid oak is an excellent choice; its dense nature and tannic acid content make it inherently resistant to rot and insect damage. Its strong grain patterns also offer a classic, rustic aesthetic that can complement any outdoor setting. Over time, it weathers to a distinguished silver-gray patina, adding character to your outdoor space.
For a more contemporary look and additional resistance to wear, laminate table tops are ideal. They come with a protective layer that stands up well to moisture and UV rays, maintaining their color and finish without frequent maintenance.
How Often Should I Replace My Outdoor Table Top?
The timeline for replacing your outdoor table top depends on the material, the climate it’s exposed to, and how well it's maintained. Hardwoods like oak, treated with the right sealants, can last over 10 years with proper upkeep. Laminates and metal-coated tops might require more frequent replacement due to their susceptibility to scratches and dents.
Regular maintenance, like cleaning, applying protective finishes, and storing or covering during harsh weather, can extend the life of your table top.
What Other Materials Can Be Used for Outdoor Table Tops?
Metals like aluminum offer durability; aluminum is also lightweight and rust-resistant. Stone surfaces such as granite, marble, and slate provide an elegant and enduring choice, though they may need sealing to prevent stains.
Synthetic resins and plastics are some of the best and most resilient materials for outdoor replacement table tops. They can withstand moisture and UV exposure, and they are also highly versatile for easy styling and more affordable than many other table top options, including solid wood.
Can You Leave Outdoor Tables Out in the Sun?
Yes, you can leave outdoor tables out in the sun, but UV rays can fade their finish and impact their longevity. Materials like solid hardwood, metal treated with a UV-resistant powder coating, and high-grade plastics or resins are excellent at resisting prolonged sun exposure.
